Fast Mailer Autoresponders
Built into Fast Member is the ability for you to schedule any number of emails and have them sent out whenever your members signup as a free member or purchase a product.
You can use this to notify your site members about new content being made available or as a basic email marketing system.
Note: Fast Member is not intending to replace a more sophisticated autoresponder system such as Active Campaign or Aweber, and will not give you the level of analytics a more dedicated platform will offer.
However the Fast Member Autoresponder exists to compliment those systems, giving you easy customisations within your messages based on your site content. It will serve as a notification system offering some features which those other systems may not be able to handle so easily.
Where the Fast Member Autoresponder is most useful is to notify your site members of new content becoming available. You can sync these messages with the content drip feed and have a dedicated system setup to deliver all your notification based content while doing any in-depth email marketing through a more dedicated platform.
By using both the Fast Member Autoresponder alongside a full scale email marketing platform you will have a truly powerful system capable of serving your business and your customers.
Note: Before you setup your Autoresponders make sure you have setup your email sending settings, including the cron job, otherwise when testing your emails you may not be seeing the messages as expected.
You can setup the General email settings on the General Settings page. View the full tutorial for Mail Sending and SMTP integration settings here.
Setting up the Autoresponders
From the Autoresponder List click Add New. You will be taken to a page to create a new Autoresponder.

Here you enter a name for the Autoresponder and choose the products you want to send this series of emails for.
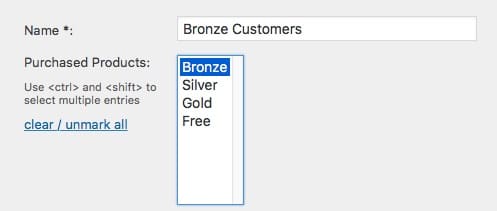
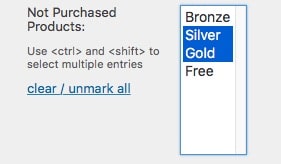
You can also choose which products the member has not purchased. This will send messages to any members who have not purchased those products.
Set if this Autoresponder is Active. This can be used to disable the Autresponder if needed.

Double Opt In – this can be used if you want to receive confirmation from your users that they wish to receive your messages.
When selected you will see options to send a confirmation message in which you can add a URL tag to create a confirmation link. This message is received by the member after they are added to the autoresponder but they will NOT recieve any futher messages until they click the confirmation link.
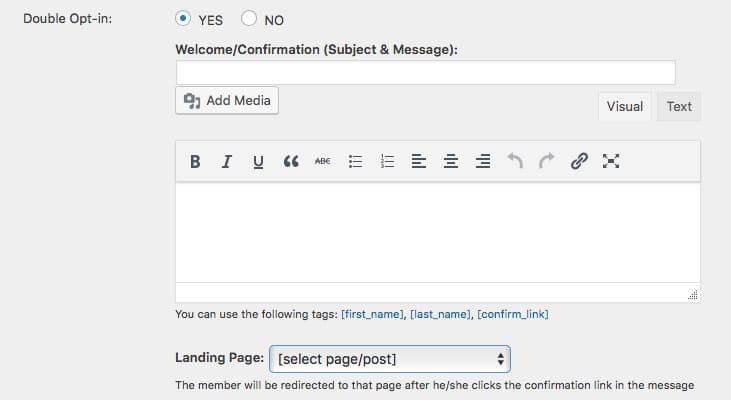
You can further set a landing page they are taken to after they click the confirmation link.
Once you have all your main AutoResponder settings you can create the Autoresponder.

Once created you will be redirected back to the Autresponders List.
Adding Autoresponder Messages
From the Autoresponder List click back into the Autoresponder settings and then choose to Edit Messages, or click the Autoresponder Messages link directly from the Autoresponder List
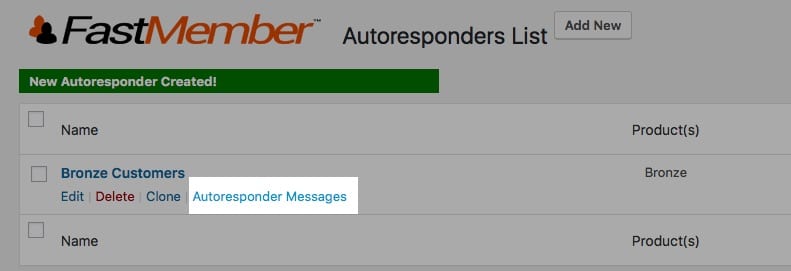
When on the Autoresponder Messages page choose Add New

You will see the following options
Send Day – this is the day this specific message will be sent. If set to 0 it will be immediately after they have signed up (or confirmed if you have chosen double optin)

Subject – This is the subject line of your email

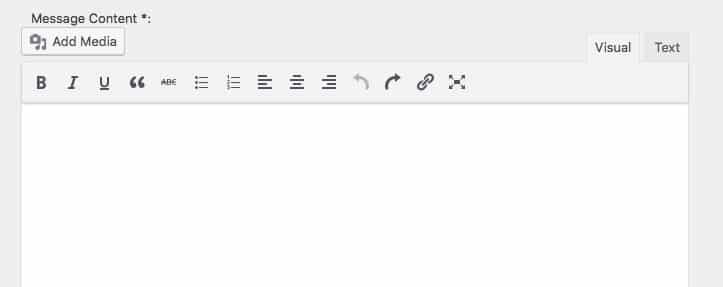
Message Content – This is the content you will add. You can use the WordPress Classic post editor to format the message as you would with any other WordPress content adding headlines, image and links etc
Customisation Tags
At the base of the email you will see some notes about tags which can be added. You can insert the following.
First Name – this will add the members first name to the message
Last Name – this will add the members last name to the message
Login – this will add the members login username to the message
Unsubscribe Link – this will add the unsubscribe link to the message
If you click on any of these tags they will be added to your content and will display the details when the email is sent.
Test Messages
You can also send a test message. When sending a test email it will save the current message and then send a test email to the address used.

Note: when sending a test message any customisation tags will not be rendered. Instead you will just see the tags as formatted in the message editor.
Once saved you will be returned to the message list where you can continue to add messages, setting the send day and message subject / content as required.
After you have added all your messages your Autoresponder is now setup and ready to begin mailing when members join your site.
